Wednesday, January 27, 2016

New Year Projects

It takes a couple weeks to be back to normal after Christmas.  Things to put away, shuffling around of projects, deciding what to start on in the new year.  January usually ends up being about finishing up loose ends and doing small projects.

I haven't done much so far but I've made a couple new tarot card bags and worked on some artwork. 

These are the two sides of a lined and quilted 6" x 8" bag.

And these are the two sides of a lined and quilted 51/2" x 81/2" bag.

My main goal was to make a bag for new tarot cards I received for Christmas. 

The cards came with an instruction book but not a correctly sized box for the cards so naturally I had to make a bag for the cards. I tried to pick fabric from my collection with colors similar to the artwork on the cards. 


The cards have beautiful artwork with subdued colors from nature. All the fabric I picked out just happened to be batik. The colors and prints seemed to match the natural theme of the cards.

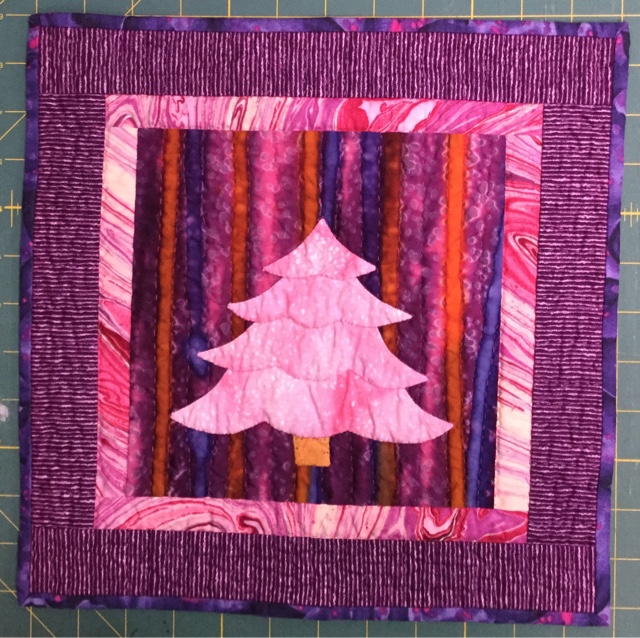
These two bags are the only projects I've completed this month but I've been playing with some art ideas and collage artwork.

I did some experimenting to find a pen or pencil I can use in an acrylic mixed media artwork that would not smear if painted over with clear acrylic medium.  This is the practice canvas and the two artworks I'm experimenting with. 


And I found some fabric in a color I adore (Moda Basic Grey Grunge Turquoise) and tried to recreate that magical color in artwork. Wouldn't it be fun to paint an entire wall this way? It could be a color therapy wall. Looking at this color just makes me feel good. 


It took a mix of several hues to come close to the same color turquoise.

Thanks for reading. 
Aileen 


Thursday, December 31, 2015

Leather Blank Books with Crochet Pouches

I made two leather journals with crochet pouches as Christmas gifts this year. 

Making the journals probably took less time than making the pouches which each took over 6 hours to crochet.  I have no pattern for the pouches or the journals, I just made it up as I went.  Each journal is 5" x 7" with around 200 pages of blank paper.  The journals are bound with a combination long and link stitch that I just learned.  I actually made the journals twice, totally ripped out everything I'd done, and trimmed all the pages by 1/4" because I didn't like how the pages were showing beyond the edge of the leather covers. But that means I got twice as much practice doing this binding than I would have otherwise!

The first journal is very simple, with white paper and a strap to wrap around it twice.


The second journal has the Norse Web of Wyrd symbol stitched to the front of the journal. My understanding is that the Web of Wyrd or Matrix of Fate contains all of the Rune shapes and therefore represents all the possibilities of past, present, and future. I thought the symbology was appropriate for a journal. The leather piece I used for this journal has a rough edge with a long curve and tail that I attached the strap to and used a longer leather lace to wrap the journal a couple times around.


The Web of Wyrd.


Thanks for reading. 
Aileen 

Wednesday, December 9, 2015

Small Christmas Quilts for Decorations

I finally finished something I started so long ago I actually don't remember when I started it.  

Christmas Bells.

This is one in a series of several small wall quilts I'd started all at the same time. I completed the applique, piecing and quilting of all of the mini quilts with only the embellishment with embroidery to be done last.  And that's when the entire project came to a screeching halt after I'd finished about four of these little projects. I got halfway through the Christmas Bells that I have just finished and stopped. Now I still have six more to finish.

There's the angle quilt that still needs at least hair embroidered.


The snowflake that isn't frilly enough. I plan to do some embroidery in white around the white snowflake shape.

And several Christmas trees that have no decorations. 


Obviously sitting and doing embroidery is not one of my favorite pastimes but I do appreciate and admire beautiful embroidery.

Thanks for reading. 
Aileen 


Tuesday, November 17, 2015

Folded Batik Fabric Star Ornaments

I just  finished making a bunch of new batik star ornaments.

Today I finished eight more ornaments by adding the copper wire and glass bead hangers:

My favorites are this blue and silver snowflake batik,

and this multi-color bright bubble batik fabric.


Thanks for reading. 
Aileen

Quilted Christmas

I can finally check one thing off my long list of Christmas projects. I'm frustrated because this is taking me too long. The actual time spent on a project is not unreasonable but the elapsed days from start to finish is too long. I only work a couple hours at a time at most and skip some days. At the rate I'm going I can only get one small quilted item done every 7-10 days. I should have started these projects six months ago, which actually was the plan, but I didn't, so now my plan is to do 2-3 other items before Christmas and will very likely end up only doing 1 or 2 items.  I'll probably be working on Christmas projects in January and February next year!

But for now this small quilt is done. 

It's based on a dark/light HST design I created on my design wall. I don't usually use the design wall for this step in the process. I usually use a drawing program on my computer or plain old graph paper but I didn't want to mess with that this time because I expected to make several changes to find a design I liked. It seemed like it might be faster to use black triangles on the white wall to work out the layout.
I don't know if it was faster but when I was done the design was right there on the wall to guide me while I put the actual block together.  I might do this again when I'm working on a design where I want to play around with the placement of the dark and light elements.  And seeing the design closer to a 'real life' scale rather than on a piece of paper or computer screen I think is a bonus.

Below is the finally quilt before washing. Of course my machine quilting is horrible.  Even with the walking foot my machine struggles getting over joints in a design like this. Some of the triangle intersections are eight seams coming together into points. That's a bump no matter how much you iron it. But I do machine quilting now because it's fast and the only way I can get anything done quickly. But I'm not a big fan of the machine quilted look but I am a big fan of getting things done. 

And in the end after all is done and the quilt is washed all those imperfections will become lest noticeable.

I guess.

I still see them. 

But I really didn't feel like spending 12 hours hand quilting this. It's a shame because the piecing came out really accurate. I spent the time to pin every intersection so all the points came out nice and pointy. Now I feel like I ruined it with that crappy machine quilting. 

But it looks nice enough for its purpose, covering an end table. 


And my end tables are usually piled with all kinds of stuff and books. 


So I guess this one is good enough. But I will still try to do better on the next one. Which I plan to make using the same pattern but with a red and white snowflake fabric. I'll be back in 7-10 days, or more, with pictures of the next one. But first I'm making some ornaments.

Thanks for reading. 
Aileen


Monday, November 9, 2015

How I make folded batik Fabric Star Ornaments

I will describe how I make these stars. 


I start with batik fabric. Batik fabric has the advantage of being virtually the same on both sides. Technically there is a top and back side of the fabric but for the purpose of this project you won't see the difference. During the folding of the star the fabric strip will be twisted and turned in different ways revealing both the "top" and "back" of the fabric in the finished star. 


I prepare the fabric with a diluted clear acrylic wash. This will seal all the threads, prevent it from fraying and make it handle like a piece of paper.  I start by ironing the fabric to freezer paper to keep it flat and stable, then use a paintbrush to soak it with a 50/50 solution of clear acrylic gloss medium and water.  Do not use matte acrylic medium for this step. Matte gel medium will dull the color of the fabric but gloss medium will not. Also the gloss medium will not make the fabric look glossy. It takes several layers of gloss medium to make fabric look shiny so if you like the mat finish look this process will work for you. 

To make one star I use a piece of fabric that is about 20" to 22" long and about 3 1/2" wide. This is large enough to cut four 3/4" wide strips that will be long enough to make one 3-dimensional star.


That needs to dry 24 hours, then iron the treated fabric between parchment paper so the acrylic medium in the fabric won't stick to the hot iron or the ironing board. 


After ironing the fabric I cut it into 3/4" wide strips. I use a long plastic ruler and rotary cutter for this. 


Now cut the ends of each strip into points and fold the star.  You can see how neat the edges of the fabric strips are and the point will not fray.  It also helps that batik fabric is a fairly lightweight tightly woven fabric.  


I am not going to show all the steps for making the star because there are many sites (3D stars, German Paper Stars, German Star Tutorial Video, Moravian Star Instructions) that have instructions for folded paper stars. 

It's the Exact same process. 

Starting.

Ending.

Done.

At this point I seal the finished star with clear acrylic gloss medium. Depending on how glossy you want it to look you may need to do this several times. The initial wash of the fabric before cutting and folding and one coat using gloss medium after the star is made will not make the ornament shiny looking but it will seal it into form and make it stable. Depending on how glossy you want the final ornament you will need 2 or more layers of gloss medium. 


My final step is to punch a hole and make a nice wire hanger.  I begin by punching a small hole to put the hanger through. I have use something sharp like an awl to make holes in the past but I like the neat hole I get using the hole punch. 


Ready for hangers.

At this point I go to my wire and bead work space and add a copper wire hanger with glass beads to match the color of the fabric. You could also just use a decorative string, yarn or ribbon for the hanger. 


Blue batik Fabric Star Ornament with glass and wire bead hanger.


Thanks for reading. 
Aileen